Prep and prime the wall, mark a plumb line (never start from a corner), paste the wall, hang the strip and smooth from the centre out, trim top and bottom, then butt the next strip and match the pattern. With non-woven paste-the-wall paper, a feature wall is a realistic weekend project. Size your rolls first with the calculator.
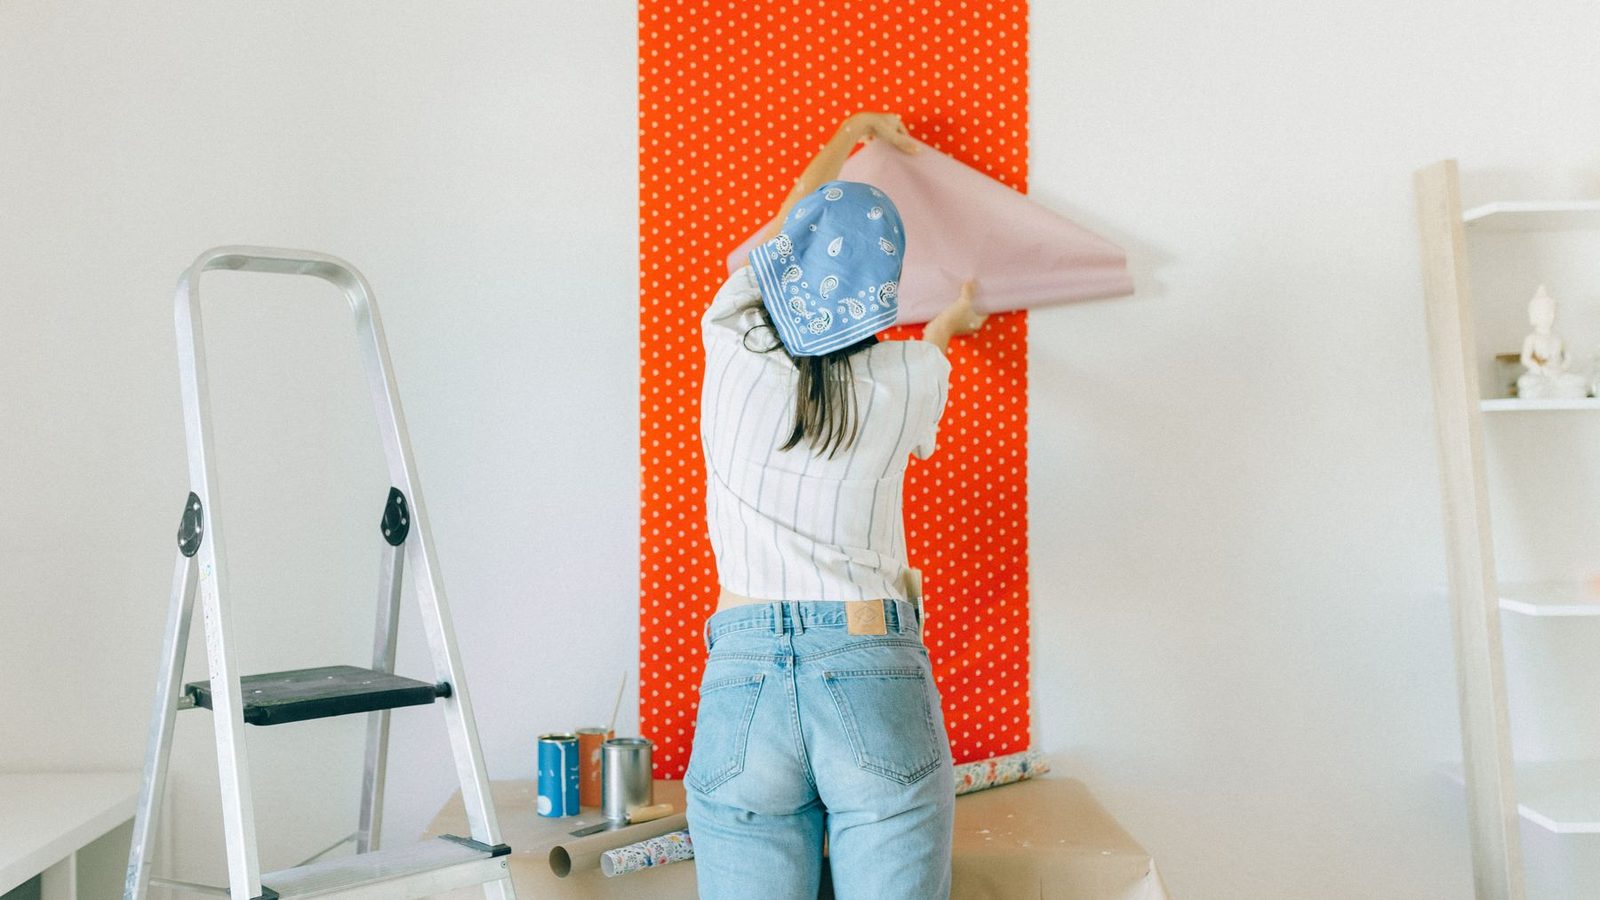
What you'll need
Keep the kit simple. For paste-the-wall paper you'll want:
- Wallpaper (with your buffer, all one dye lot) and the right paste or primer
- A paste roller and tray, or a wide brush
- A smoothing tool or brush, a seam roller
- A sharp snap-off knife and a broad knife or straightedge for trimming
- A level or plumb line, tape measure, pencil, sponge, and a step stool
The steps
1. Prep the wall
Wallpaper only looks as good as the wall under it. Clean off dust and grease, fill holes and sand them smooth, and prime bare or patched areas so the paper grips evenly. Turn off power and loosen (don't remove) outlet and switch covers.
2. Mark a plumb line, don't trust the corner
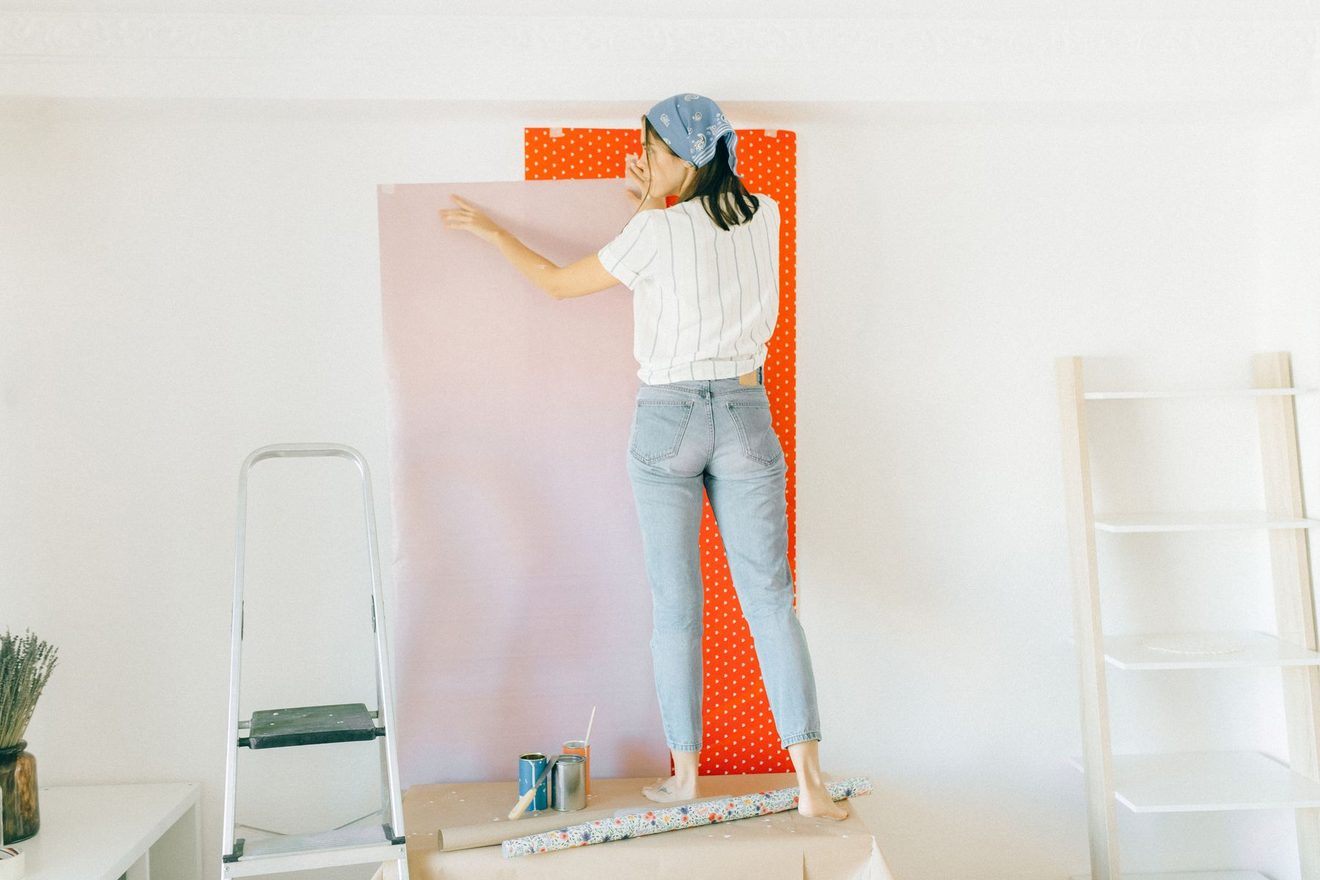
Corners are almost never perfectly vertical, so starting a strip against one tilts everything after it. Measure one roll-width from your chosen starting point, hold a level, and draw a true vertical line. That line, not the corner, guides your first strip.
3. Cut your strips
Cut each strip to your ceiling height plus a few inches at the top and bottom to trim off. On a patterned paper, add the pattern repeat to each strip so the design lines up from one to the next. Number the backs in order.
4. Paste the wall
For non-woven paper you paste the wall, not the paper. Roll an even coat of adhesive across a section a little wider than one strip. (If your paper is prepasted instead, wet and "book" it, folding it paste-to-paste to relax before hanging.)
5. Hang the first strip
Line the strip's edge to your plumb line and let it drop straight down the wall, leaving a couple of inches of overlap at the ceiling. Don't stretch it.
6. Smooth out the bubbles
Smooth from the centre outward and from top to bottom with your smoothing tool, working air and excess paste toward the edges. Wipe any paste off the face and the ceiling as you go.
7. Trim top and bottom
Crease the paper firmly into the ceiling line and the baseboard, then trim along a broad knife with a fresh, sharp blade. A dull blade tears wet paper, so snap to a new edge often.
8. Match and butt the next strip
Hang the next strip tight against the first and slide it until the pattern lines up, then butt the edges together. On flat walls the seam should touch, not overlap. Repeat across the wall.
9. Roll the seams
Once a couple of strips are up and have relaxed for a few minutes, gently roll the seams flat with a seam roller. Don't squeeze paste out, just settle them. Give the whole wall a final wipe.
Common mistakes to avoid
- Starting at a corner instead of a plumb line.
- Skipping wall prep and priming, then fighting bubbles and lifting seams.
- Letting paste dry on the face of the paper.
- Overlapping seams on a flat wall.
- Running short mid-wall because the count or dye lot was off. Size it right first.
Sources, checked 28 August 2026
- James Dunlop Textiles, how to calculate wallpaper requirements
- TM Interiors, estimating wallpaper quantities
- Cole & Son, hanging instructions and pattern match definitions
- Graham & Brown, what is paste-the-wall wallpaper
- Graham & Brown, paste the paper vs paste the wall
- Wallcovering Installers Association, Wallcovering Dictionary
- Our own quantity method, published in full at how we calculate
Links are evidence for the figures on this page, not recommendations. None of them earn us anything, as set out in how we make money. Found something out of date? hello@rollandbloom.com.