Find and mark the studs, cut the panels to your wall height, apply construction adhesive and press the first panel on dead level, then drive finishing screws through the felt gaps into the studs. Butt each following panel tight so the slat spacing stays even, and cap the edges with trim. It's a realistic weekend project. Get your panel count first with the calculator.
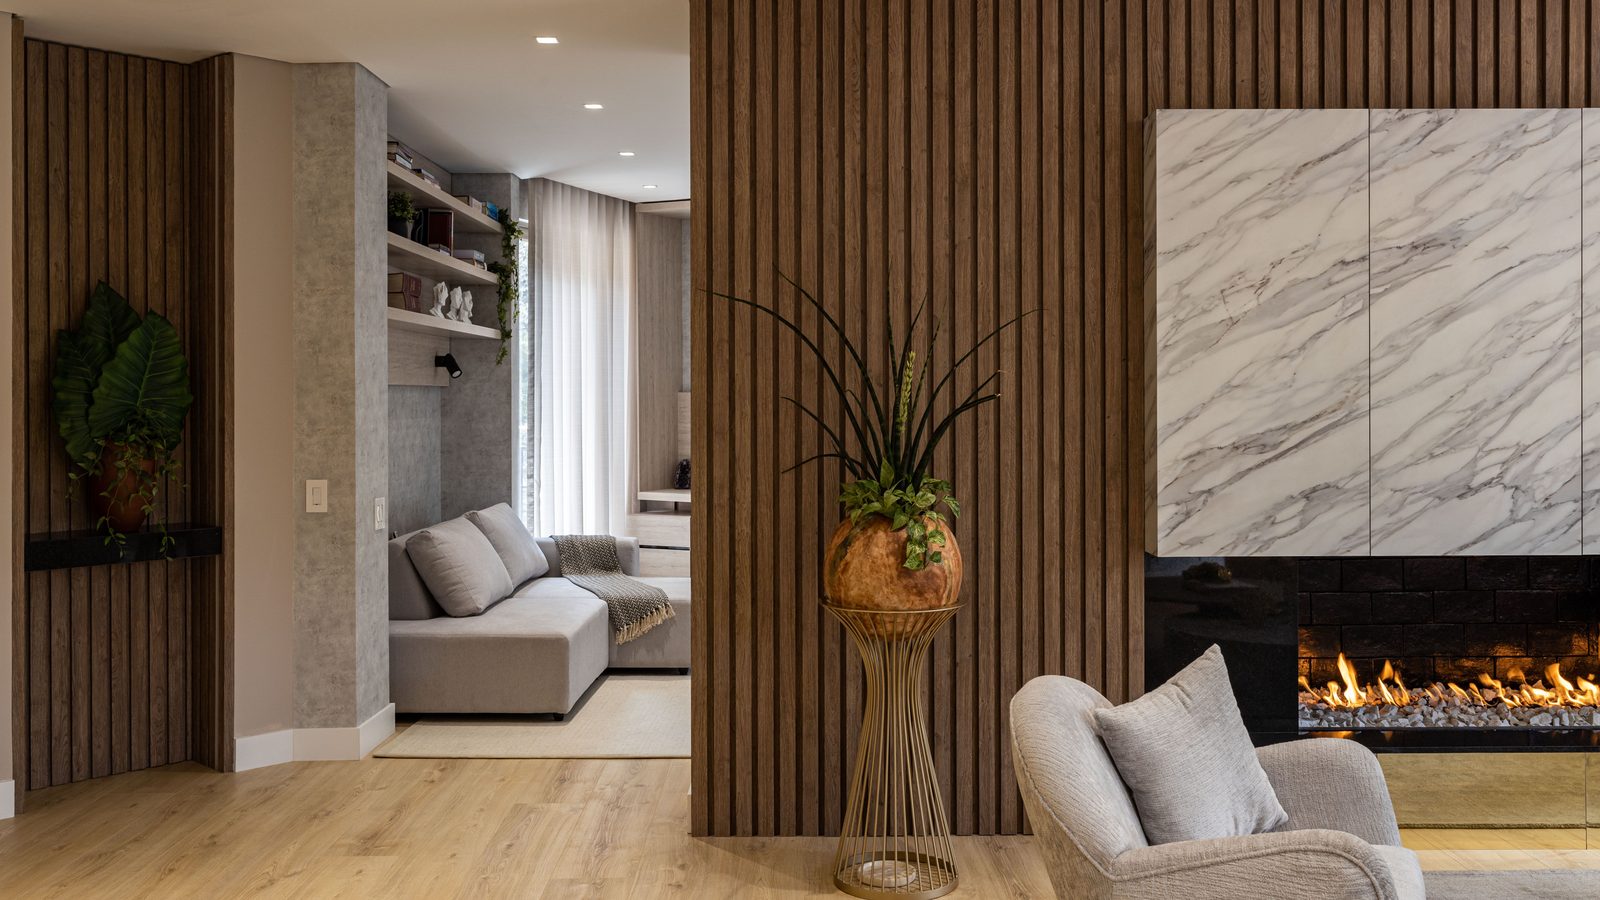
What you'll need
- Your slat panels (with a small spare for miscuts) and edge trim or molding
- Construction adhesive and a caulk gun
- Finishing screws and a drill
- A stud finder, a level, and a tape measure
- A fine-tooth saw (circular, jig, or hand saw) and a pencil
The steps
1. Acclimate the panels
Wood moves with humidity. Let the panels lie flat in the room for a day or two before installing so they settle to the room's conditions and don't shift after they're up.
2. Find and mark the studs
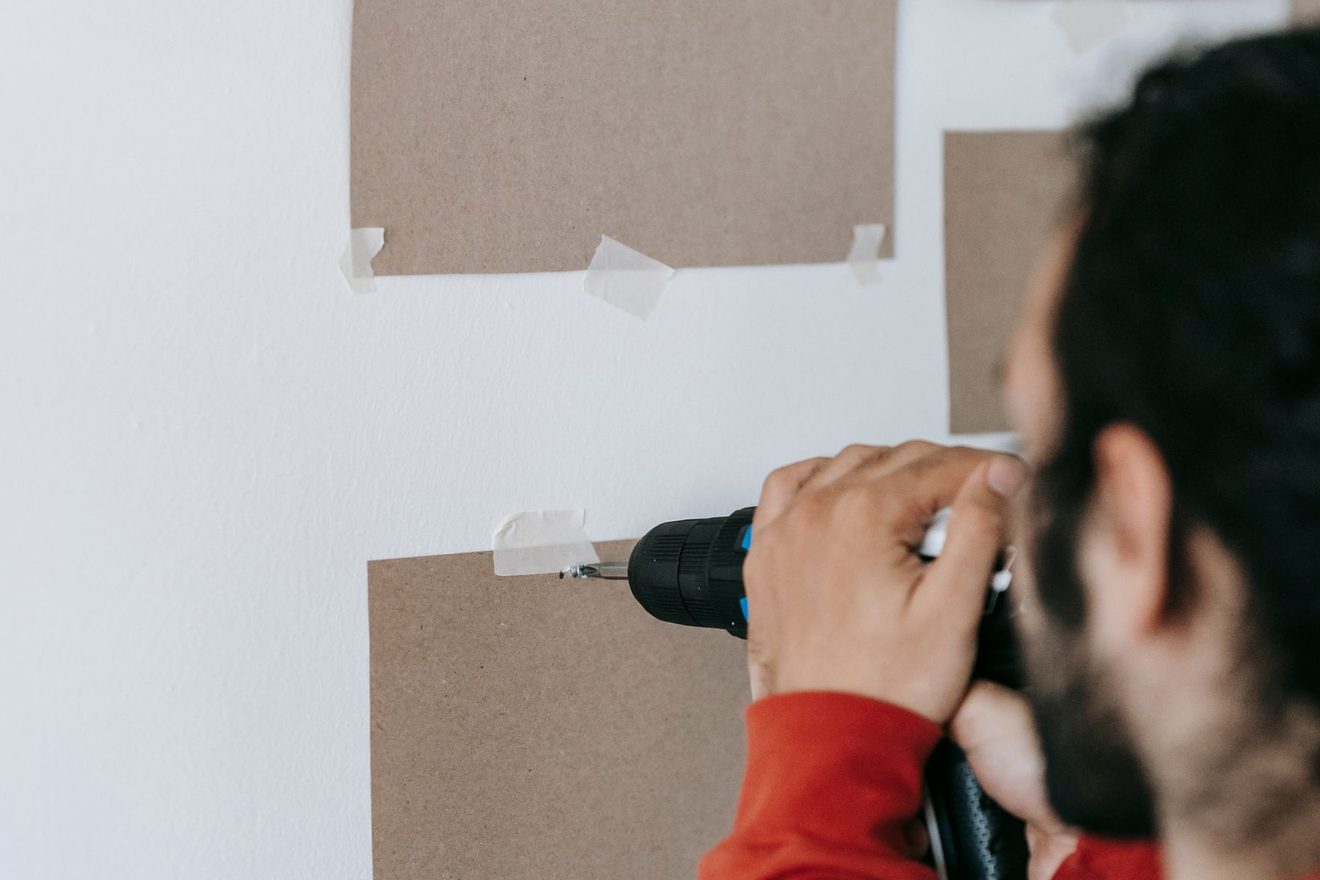
Run a stud finder across the wall and pencil-mark each stud, top and bottom. Your screws go into these through the felt backing. Adhesive alone can hold light panels, but studs are what keep a heavy slat wall tight for years.
3. Plan your layout
Pick your starting edge and check it with a level. Walls are rarely perfectly plumb, so decide where any trimmed edge should land, usually in a less visible corner. If your wall is taller than one panel, plan the horizontal seam for the second row now.
4. Cut the panels to height
Measure your wall height and cut each panel to fit with a fine-tooth blade. Cut from the felt side so the wood face doesn't chip, and dry-fit before committing.
5. Apply the adhesive
Run vertical beads of construction adhesive on the back of the panel (or the wall), following the tube's coverage instructions. Keep it back from the edges a touch so it doesn't squeeze into the seams.
6. Set the first panel level
Press the first panel to the wall and check it with a level before the adhesive grabs. This first panel sets the line for everything after it, so take your time getting it plumb.
7. Screw into the studs
Drive finishing screws through the felt gaps between the slats into your marked studs. Seated in the reveal, the heads disappear. A few screws top, middle, and bottom per panel are plenty alongside the adhesive.
8. Butt the next panels
Fit each following panel tight against the last so the gap between slats stays consistent across the seam. Glue and screw each one the same way, checking level as you go.
9. Cut around outlets and finish the edges
With the power off, measure and cut openings for outlets and switches. Then cap the exposed side and top edges with matching trim or molding, and caulk or fill where needed for a seamless, built-in finish.
Common mistakes to avoid
- Skipping the studs and relying on adhesive alone.
- Not getting the first panel plumb, which throws off every slat after it.
- Cutting from the wood face and chipping the veneer.
- Forgetting to acclimate the panels first.
- Leaving raw edges instead of finishing with trim.
Sources, checked 28 August 2026
- Everbilt wood slat acoustic panels, Home Depot ($114.79 per 2-panel case, 31 sq ft, August 2026)
- ComfortHomi 94.5 × 24 in slat panels, Wayfair
- 48 × 24 in half panels, Home Depot
- Art3d narrow slat panels, Home Depot ($149.99 per 4-panel case, 21 sq ft, August 2026)
- SlatPanel, narrow panel dimensions
- Our own quantity method, published in full at how we calculate
Links are evidence for the figures on this page, not recommendations. None of them earn us anything, as set out in how we make money. Found something out of date? hello@rollandbloom.com.